Rigenstar / custom development
Custom component development
From your reference to a clear development plan.
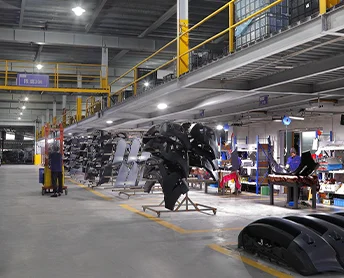
Some automotive interior and exterior components require custom development. We work from samples and drawings to support reverse engineering, mold development, injection molding and surface finishing.
Discuss a custom project
01 / Development scope
Structure. Appearance. A defined purpose.
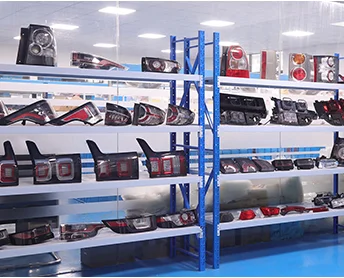
Bring a replacement component, an interior trim concept or an exterior component with custom branding. We review the reference, mounting interfaces and surface finish to define the development scope.
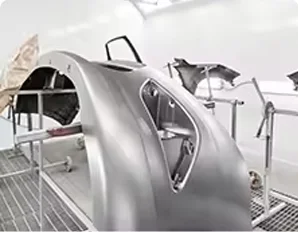
Start with the part you need
Confirm the installation position, neighboring components and visible surfaces. Development scope is assessed for the requested part.

02 / Make the details yours
More than a change of shape.
Specify what buyers will see and touch, as well as how the part will fit. Color, texture and branding are evaluated together with the manufacturing method.
- 01
Color matching
Define the color using a Pantone reference, RAL code or physical sample. Review the result on the selected material.
Pantone / RAL- 02
Surface finishes & textures
Discuss smooth, matte or leather-grain finishes. Confirm the texture and visible surfaces during sample review.
Smooth / Matte / Leather grain- 03
Molded-in branding
Evaluate embossed or debossed branding formed in the mold. Logo placement and dedicated tooling arrangements are agreed per project.
Embossed / Debossed
03 / From brief to production
Decisions made in the right order.
- 01
Define the requirements
Share a reference sample, drawing or design brief. Identify the vehicle, model year, part position and intended use so the starting point is clear.
- 02
Review engineering & tooling
Assess geometry, materials and manufacturing requirements through reverse engineering and mold design. Agree on the tooling scope before committing to production.
- 03
Confirm the sample
Check fit, mounting features, color and texture against the agreed reference. Record revisions and sample approval before the production specification is finalized.
- 04
Plan production & delivery
Agree on inspection checkpoints, packaging, labeling and order quantities. Confirm tooling ownership, lead times and commercial terms for the project.
Prepare your brief
What to prepare.
You do not need a complete engineering package to get started. Share the information you have and the requirements that still need to be defined.
- Reference photos, samples or drawings
- Vehicle, model year and installation position
- Material, color, texture and logo requirements
- Expected quantity, packaging and target schedule
Clear specifications and project terms.
Minimum order quantities, tooling costs and ownership, exclusivity, manufacturing tolerances and lead times are agreed per project and confirmed in the quotation or project agreement.
Your next step
Have a sample or a drawing?
Tell us what should stay the same, what should change and how you intend to use the part.