Body-panel dies
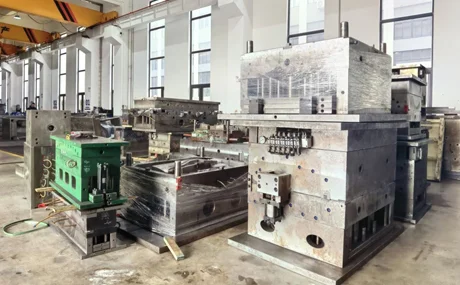
A closer view of die faces, tool structures and workshop layout.
 RIGENSTAR
Rigenstar / manufacturing
From mold to finished component.
Explore the processes behind automotive components, from tooling preparation and injection molding to component handling. Clear specifications guide each stage, from sample review to order fulfillment.
Watch the process videos ↓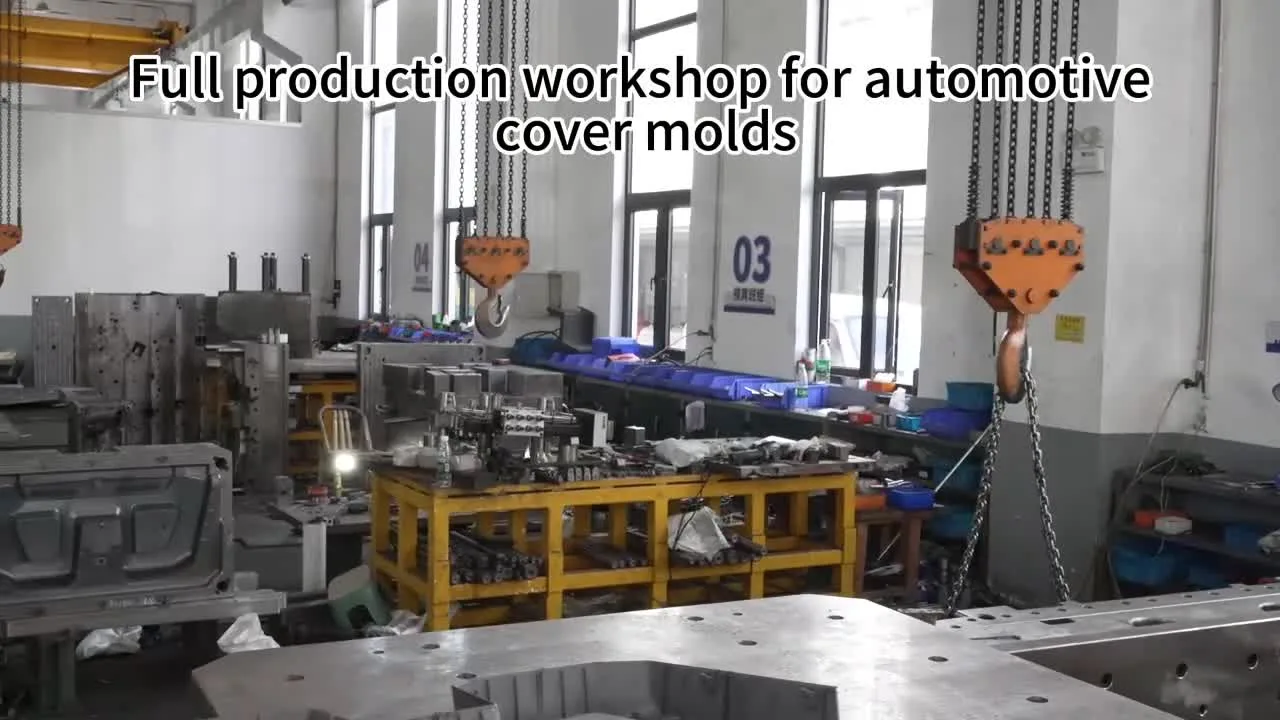
01 / Workshop details
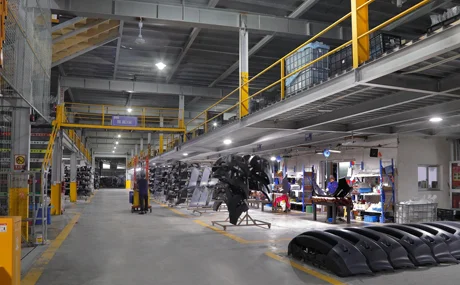
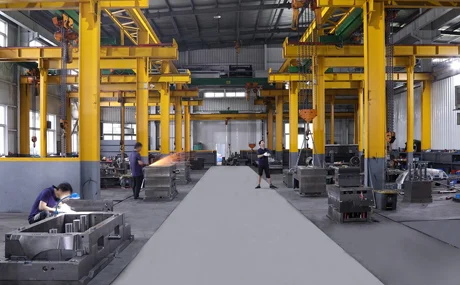
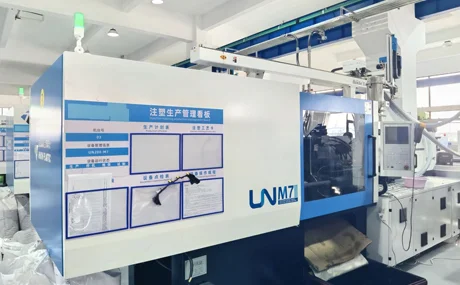
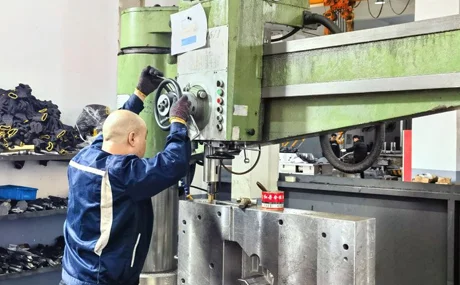
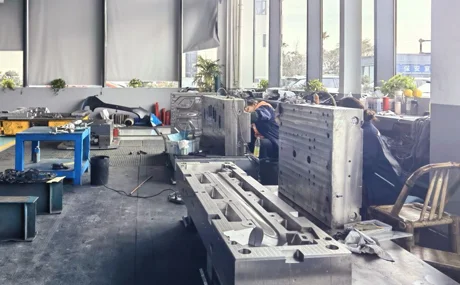
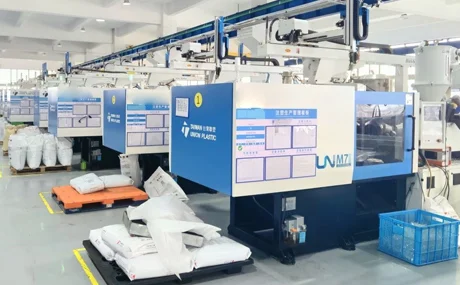
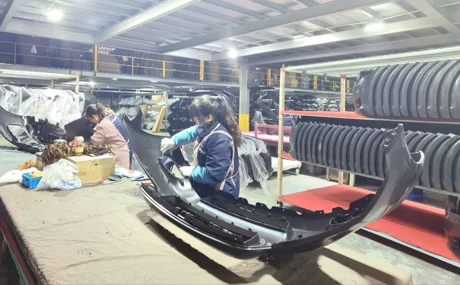
Tooling, equipment and hands-on component work all have a role. These views introduce the process; inspection requirements are defined for each project.
02 / Process videos
01 / Process
A component begins with the tool that forms it. Review mold geometry, interfaces and the manufacturing approach alongside the part requirements.
02 / Process
See the molding equipment in operation. Material, visible surfaces and sample expectations are considered together when planning a plastic component.
03 / Process
Explore the production area for body panels and bumper covers. Part orientation, surface protection and handling requirements are confirmed for each order.
03 / A closer look
These short videos show tooling details, work areas and workshop equipment. Select a video to watch.
A closer view of die faces, tool structures and workshop layout.
Walk through the preparation area and the tooling stations.
See the relationship between large tooling, work areas and lifting equipment.
04 / Agreed checkpoints
Confirm the reference, mounting features, appearance and finish before the specification is approved.
Agree on inspection checkpoints and acceptance criteria for the specified materials, geometry and visible surfaces.
Review surface protection, component labels, packing quantities and shipping requirements for the order.
Your next step
Share the reference part, material and quantity. We can review the manufacturing and sample requirements with you.